Dog Paw Print Impression Kit – Making A Clay Imprint

Disclosure: Some of the links in the article below may be affiliate links. This means that I may earn a small commission if you click on them and make a purchase.
Creating a paw print impression of your pet is a great way to obtain a memento that will last a lifetime. Even after your best friend is no longer with you, you will have a lasting impression to remember them by. It’s a perfect way to make sure the memory of your pet lives on for the rest of your life.
While this can be difficult to imagine, it’s important to take care of these things while your pet is happy and healthy. You will be glad that you did once your dear friend is no longer with you.
While there are several different products on the market for creating this type of memento, we chose to use a kit that has a clay paw print impression along with a place to mount a picture.
This product is affordable, easy to work with and the end result was exactly what we were looking for.
Paw Print Impression Kit

The product that we chose has everything that you need to create a paw print impression as well as a framed shadowbox that it can be installed in next to a picture of your pet. Rather than simply giving you a way to have an impression of your pet’s paw, you have a picture of your pet that makes it even more personable.
Creating The Paw Print Impression
The first thing that you will want to do is open the clay and flatten it out using a rolling pin. The product comes with a small rolling pin but we found it easier to use a large rolling pin that we had in our kitchen. The small one that it came with just didn’t get the job done.
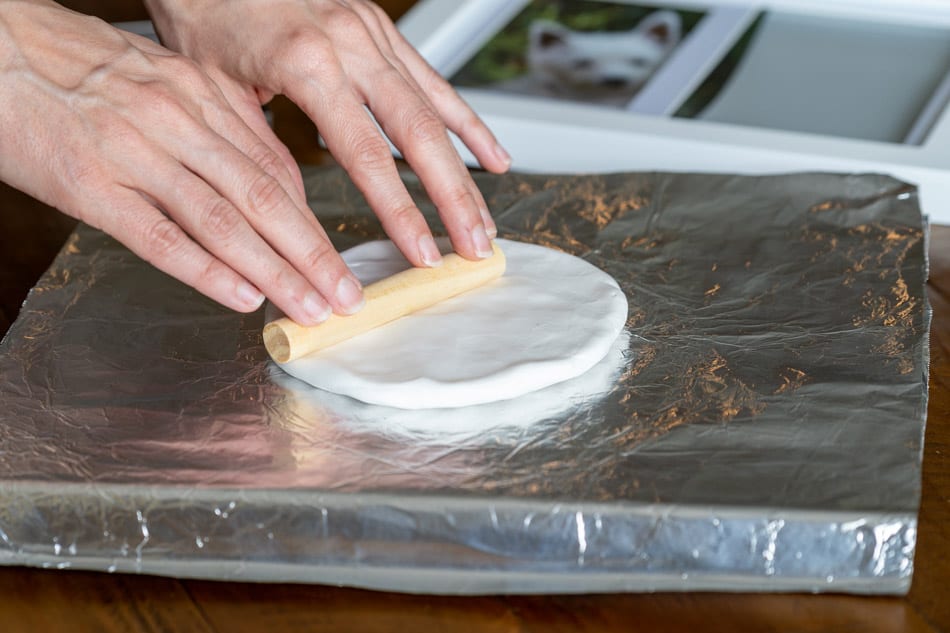
You will also want to make sure you are working on a surface that the clay will not stick to such as parchment paper or aluminum foil. We used aluminum foil because we were out of parchment paper at the time. Just make sure that you are using a flat surface underneath the area that you were working with.
You will want to roll the clay out to about half an inch thick or until it covers the area of the rectangle cut out that you will be using. Make sure that it is a little bit larger than this cut out so that you will be able to have a clean cut out.
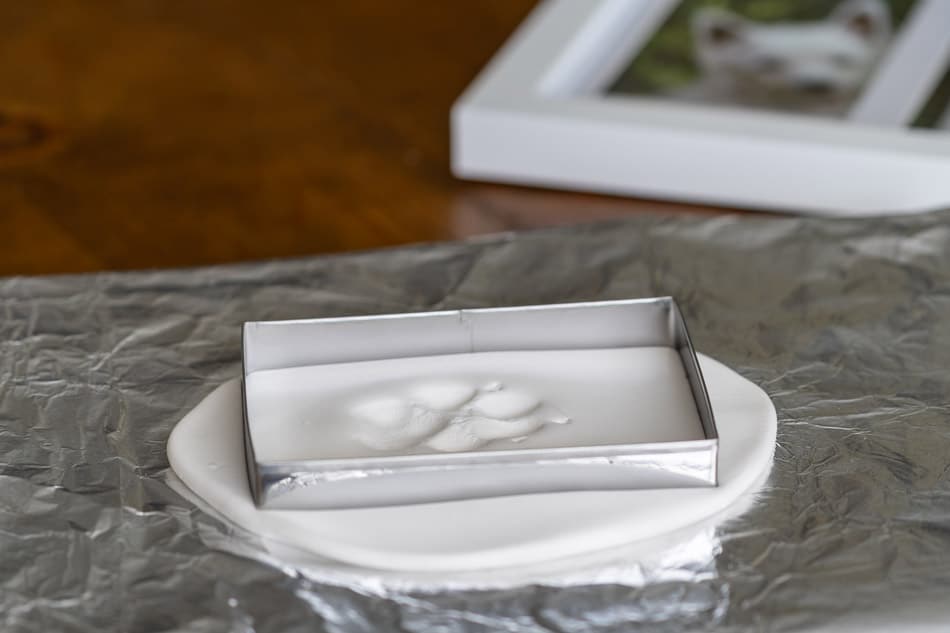
With the clay rolled out to the proper size, you are ready to put your pet’s paw into the clay. This may be a difficult part depending on how well behaved your little rascal is. Our dog is well behaved so it was no big deal for us. We just grabbed her hand and positioned it where we wanted it and held it down into the clay for a few seconds. She wasn’t particularly fond of it but she is a good girl and always aims to please.
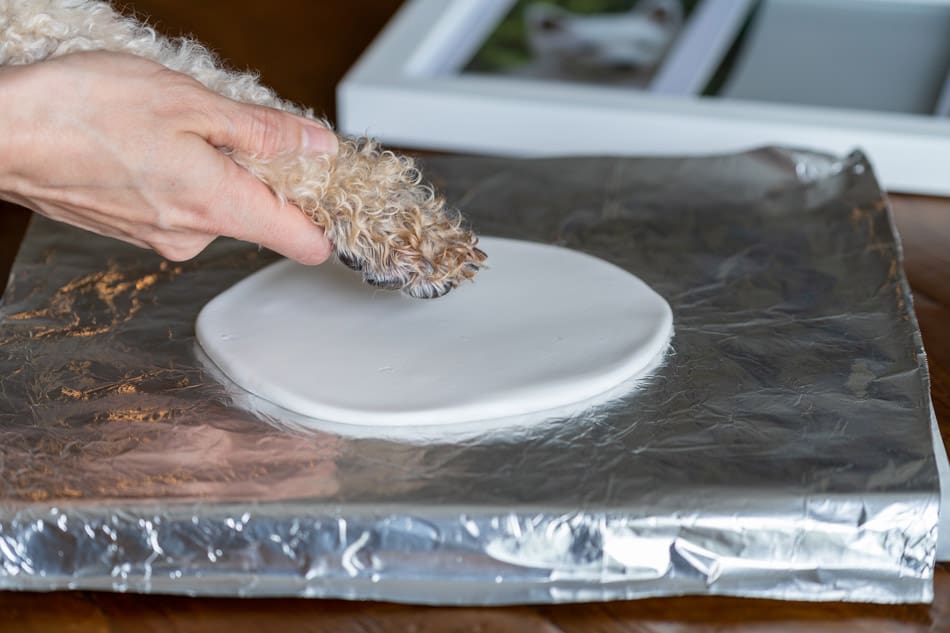
Be sure and clean off any debris from your pet’s paw or that debris will end up in the impression.
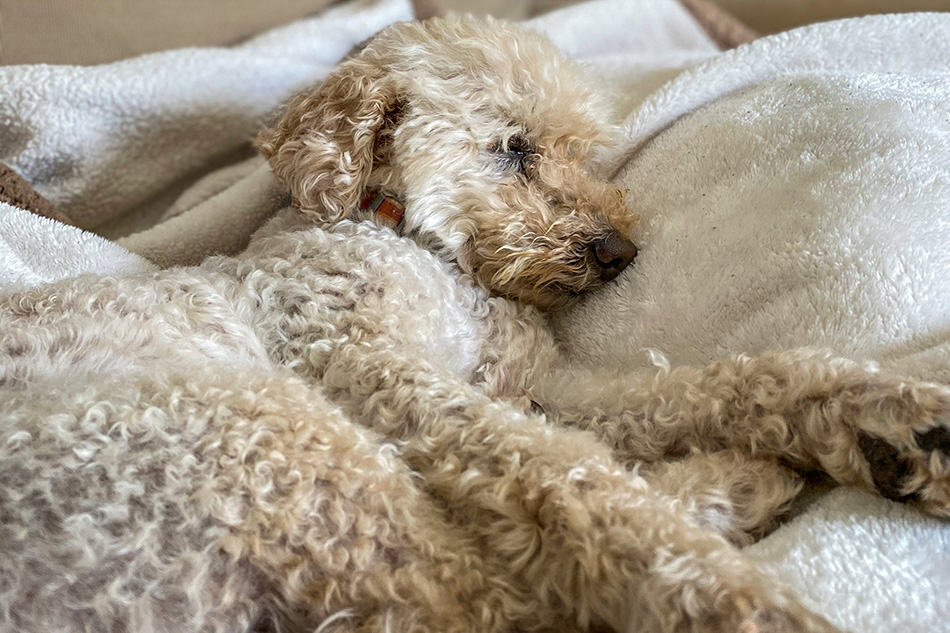
It’s important to note that we trimmed the hair on the bottom of her paw before doing this. Since our dog is a mini Goldendoodle, she has lots of curly hair that grows on the bottom of her paws. We trimmed these the best that we could and also trimmed her toenails so that we could get a good clean impression of her paw.

It’s not likely that you will make a perfect paw print or one that you are satisfied with on the first try. With this clay it’s no big deal, you can simply start over and re-roll it out and try again. It took us about five different tries before we ended up with a print that we were happy with. Some of the other ones weren’t pushed down properly in some areas or had lint or something else stuck in the impression.
This clay is very easy to work with so it is forgiving and you have lots of opportunities to get it right. You won’t have to worry about the clay drying up as long as you work within a reasonable amount of time.
We spent a good 20 minutes trying to get a perfect impression and it was fine. Each time we messed up, we would simply roll the clay back into a ball and then flatten it out again.
Drying
For drying, the product instructions recommend that you dry the front side for 24 hours and then turn it over and allow it to continue drying for a few days. We just put it off to the side and allowed it to dry over this amount of time.

This clay does not harden as you would expect. Instead, it remains soft but hard enough to maintain the paw print impression. It’s very lightweight and is still flexible after it is dried. It also has a slight smell to it that you will notice. The smell is reminiscent of sun tanning lotion that you might smell by the poolside or at the beach amongst those who are tanning.
During the drying process, this clay also tends to curl. As you can see in the picture below, our finished impression curled up on the back. We tried to flatten this out by placing a heavy book on it for a day or two but it didn’t do anything.

I’m not sure how to avoid this. It’s possible that you could heat it with a hairdryer and then flatten it out with a heavy book but we did not want to damage it so we chose not to do this. This does make the product more difficult to mount so if there is a way for you to avoid this, do it.
Once dry, it’s time for you to complete the project by installing the paw print within the frame that it came with.
Framing The Paw Print Impression And Picture
The product comes with double-sided tape but this is hardly enough to keep the clay stuck to the frame backing. You will need to use additional adhesive to make sure it sticks without falling. The paw print material feels a little oily and we had a difficult time getting the double-sided tape to create sufficient adhesion to it.
On top of the oily residue that is on the clay, the back that is curled up makes it more difficult to stick. If the product was completely flat, it would be easier to work with.
We ended up using a silicone sealant that stuck very well to the product as well as to the frame backing. We tried to use the adhesion tape that it came with at first but the paw print fell off after a day or so. With the silicone sealant, it is held on very tightly and has been that way since we finished the product weeks ago.
The hard part is getting it straight. There is no particular way to do this other than just by trial and error and eyeballing it to make sure it is straight enough for your taste.
The product itself comes with a light gray backing in the frame. We chose to add a black piece of construction paper piece over this so that the white paw print clay would stand out better.
For the picture, you will need a 4 x 6 print of your furry friend. This is easy to install and can be placed on the back of the matting board and held on with tape. You can simply tape it to the back of the picture using clear tape. Once you have the picture and the paw print in place, you now have a great memento of your pet that will last for years to come and bring back fond memories of your pet.
Paw Print Impression Christmas Ornament

Besides the framed product that we used for our pet, there are other products on the market that work great as well. We also chose to use a Christmas ornament for an additional print of our pets paw. This worked the same way as the framed impression discussed above. It’s the exact same clay so the process is the same.

One thing we noticed right away when we received it is that it was too big for our pet. Our small mini Goldendoodle that weighs around 18 pounds doesn’t have a huge paw. This product is designed for larger dogs and we didn’t realize it when we ordered it. However, this turned out to be a good thing because we were able to make multiple products with it.
The ornament cut out that it comes with measures around 5 inches in diameter. Instead of using this cutout, we used a much smaller one that fit our pet’s paw much better. With the additional clay, we were able to make a few additional impressions that were used in other ways.
We ended up with quite a few different impressions of her paw. These will be used in different ways and give us lots of different ways to remember how are pet for years to come.
I created an impression that is framed and sits on my desk in my office.
Final Words
Taking an impression of your pet’s paw is an excellent way to remember him or her. It’s a way to honor them and create a memento that will serve even better than just a picture. When you look at the impression of their paw, you realize that it is their unique handprint. It’s the same paw that walks beside you, that shakes your hand or gives you five.
Our dog has walked beside us for 14 years now. It’s hard to imagine life without her but I know that having an impression of her paw, that same paw that has walked by our side for all these years, is extra special now and will be even more special when she is no longer with us.
If you are looking for a way to create a great lasting memory of your pet, you will definitely want to go through this process of creating an impression of your pet’s paw. It’s an easy project and so rewarding once you know that you have a lasting impression of something that means so much to you. You will certainly cherish this for the rest of your life.